
Easy Yeast Artisan Bread Recipe Anyone Can Make
This post may contain affiliate links. Please read our disclosure policy.
A simple, cozy, easy yeast artisan bread for busy moms and beginners who want real bread without the sourdough commitment
If you have ever wanted to bake bread from scratch but felt overwhelmed by sourdough schedules, feeding routines, or complicated steps, this recipe is for you. This yeast artisan bread is simple, forgiving, and made for real life. It is the kind of bread you can mix up during nap time and bake later without stress.
This is my go to loaf when I want homemade bread that feels nourishing and comforting, without spending days managing dough. It is perfect for beginners, busy moms, and anyone who wants to learn how bread actually works without overthinking it.
Why This Easy Yeast Artisan Bread Is Perfect for Beginners
This recipe keeps things straightforward. There are no stretch and folds, no complicated shaping, and no guesswork. The yeast does the heavy lifting, and the dough tells you when it is ready.
If you are new to bread baking, this recipe helps you build confidence. You will learn how yeast activates, how dough should feel, and how a hot Dutch oven creates that classic artisan crust. These are foundational skills you can use again and again.
Why Flour Choice Matters More Than You Think
Flour is the foundation of bread, and the type you choose makes a difference in both flavor and nutrition. Many store bought flours are heavily processed for shelf life, not nourishment. They often lack the depth of flavor and structure that make bread truly satisfying.
I love using flour from Sunrise Flour Mill because they focus on heritage and organic grains that have not been hybridized the way modern wheat has. Their flour bakes beautifully and has a depth of flavor that you can taste.
Choosing a quality flour helps your dough rise better, improves texture, and makes homemade bread easier to digest for many people. You do not need anything fancy, but being intentional here really elevates the final loaf.
Easy Yeast Artisan Bread Recipe
Ingredients
- 3 1⁄4 cups flour
- 2 1⁄4 teaspoons active dry yeast
- 1 tablespoon honey
- 1 1⁄2 cups warm water (110 to 115 degrees)
- 1 1⁄2 teaspoons salt
Step by Step Instructions
Activate the Yeast
Warm the water to about 110 to 115 degrees. Add the warm water and honey to a bowl and stir to combine. Sprinkle the yeast over the top and let it sit for a few minutes until foamy.
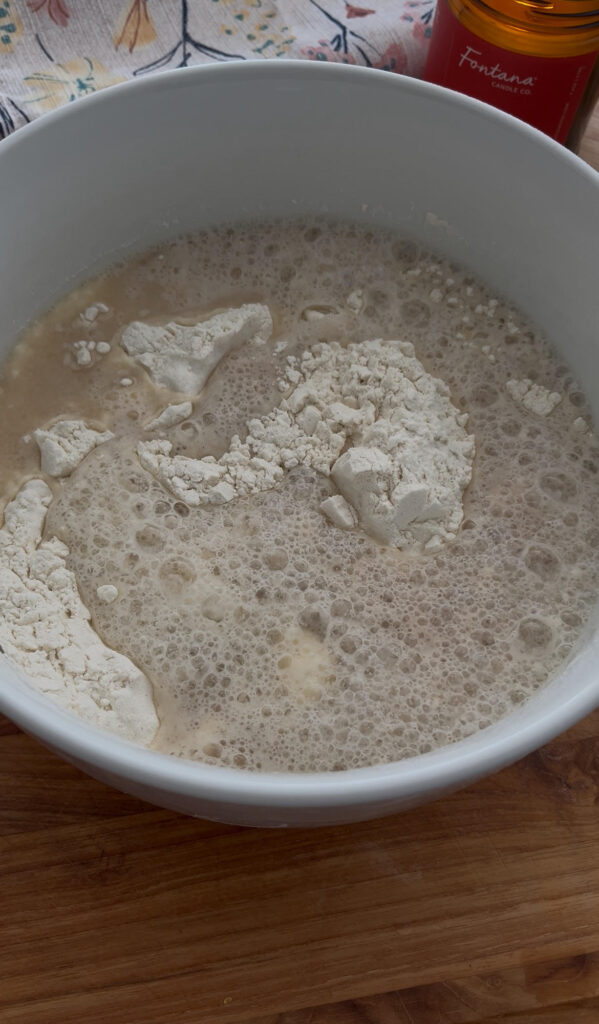
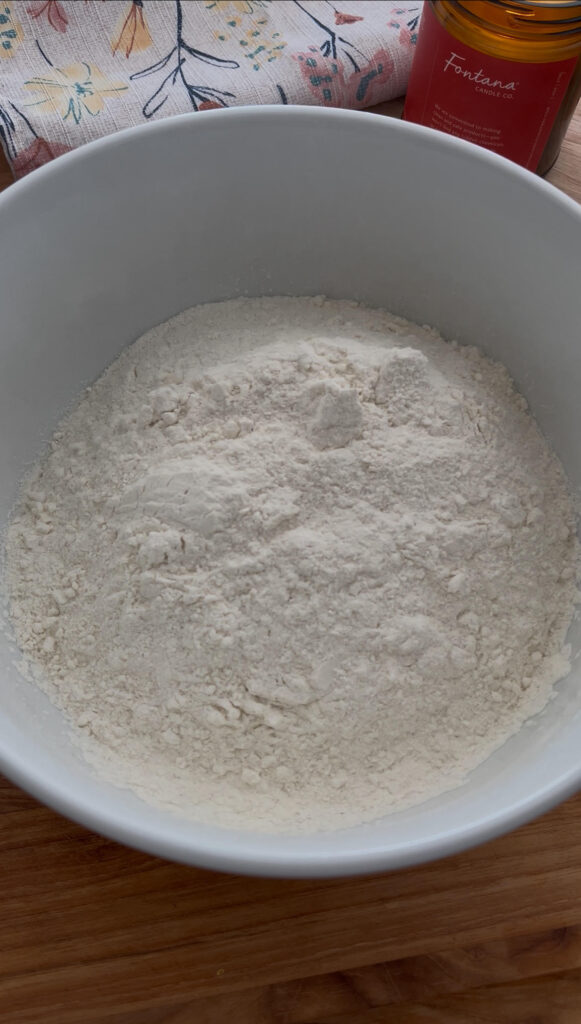
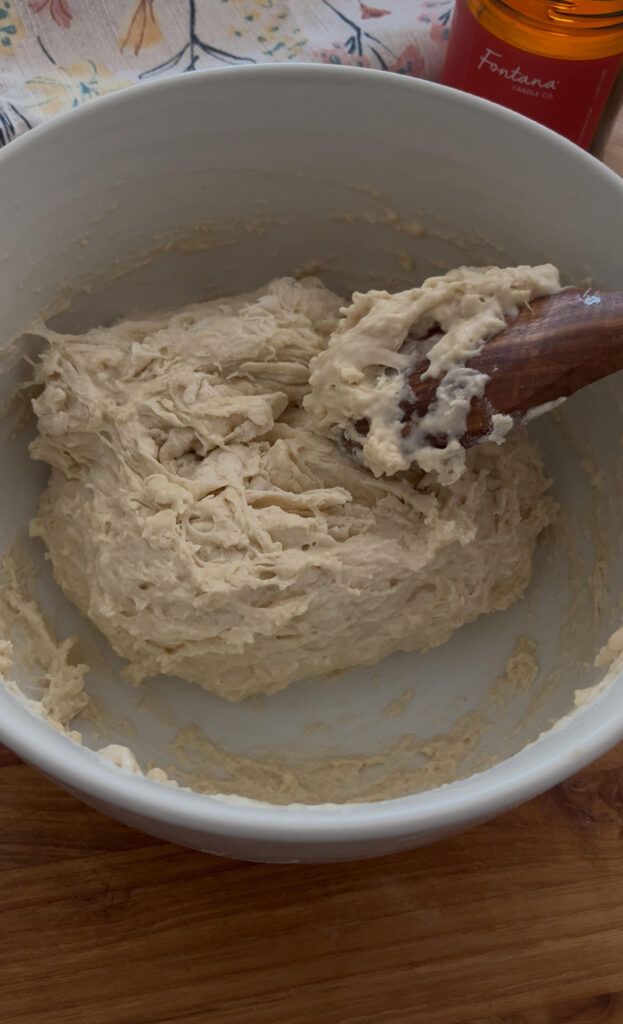
Mix the Dough
In a separate large bowl, mix the flour and salt. Pour the yeast mixture into the bowl and stir until everything is well combined. The dough will be slightly sticky.
Let It Rise
Cover the bowl and let the dough rise until doubled in size. This usually takes about 1 to 1 1⁄2 hours, depending on the warmth of your kitchen.
Preheat the Oven
About 30 minutes before the dough finishes rising, place a Dutch oven with the lid on into the oven and preheat to 450 degrees.
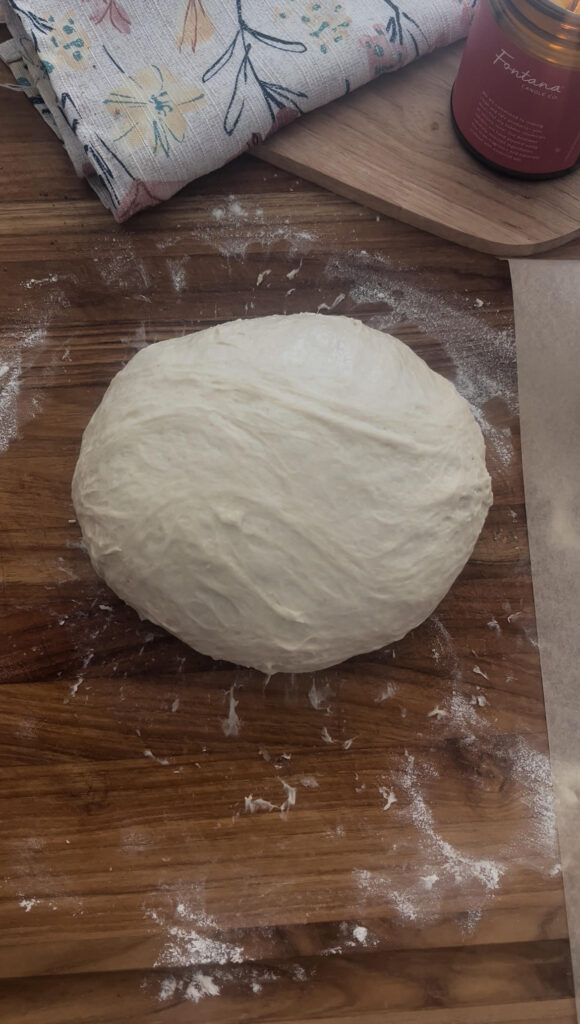
Shape the Dough
Once the dough has doubled, turn it out onto a lightly floured counter. Knead briefly, just until it comes together into a smooth ball. Do not overwork it.
Place the dough onto a piece of parchment paper.
Bake
Carefully place the dough and parchment paper directly into the hot Dutch oven. Cover with the lid.
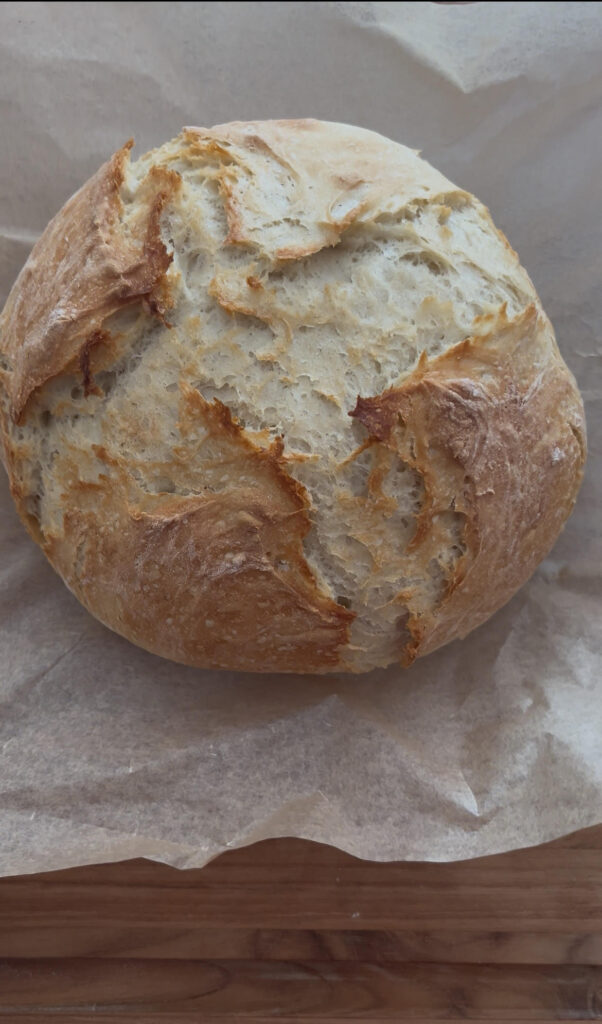
Bake for 20 minutes with the lid on. Remove the lid and bake for another 10 to 15 minutes until the top is golden brown.
Cool
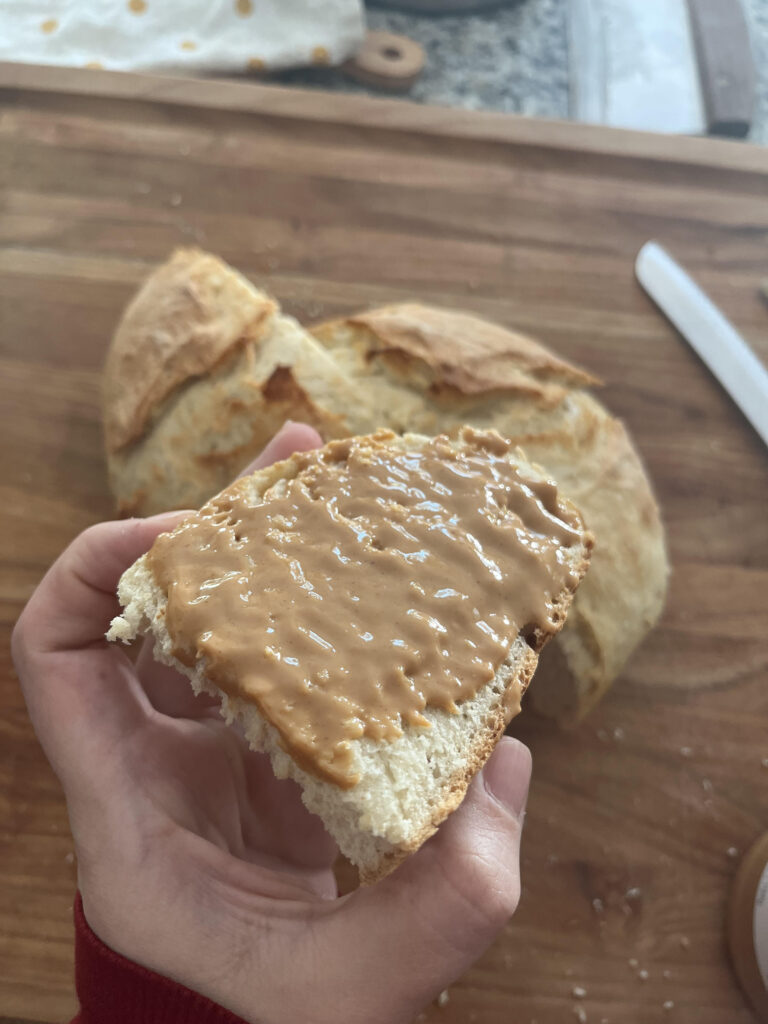
Remove the bread from the oven and let it cool completely before slicing. This helps the inside finish setting and gives you the best texture.
Tips for Success
- If your kitchen is cool, rising may take a little longer and that is okay.
- A sticky dough is normal. Avoid adding too much extra flour.
- Always preheat your Dutch oven for the best crust.
- Letting the bread cool fully makes a big difference in texture.
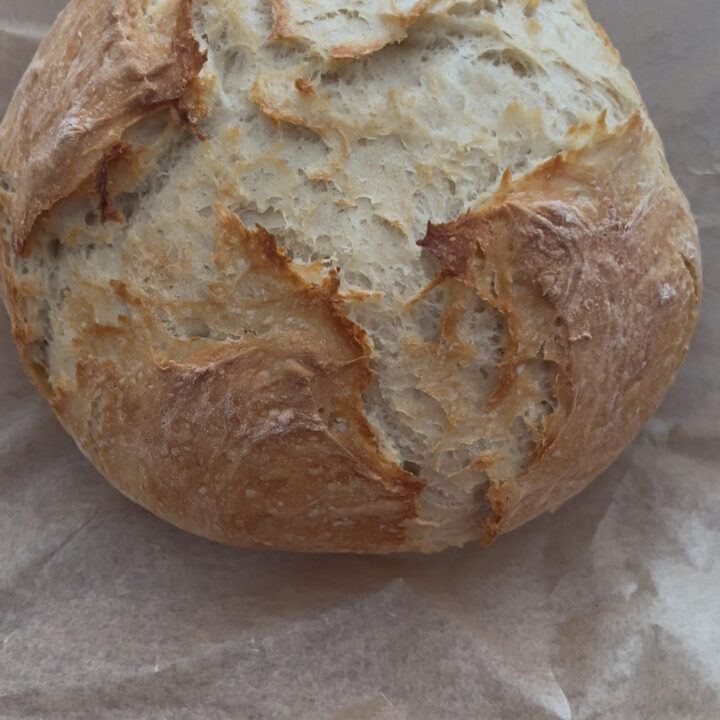
Easy Yeast Artisan Bread
A simple, comforting loaf with a crisp crust and fluffy inside, perfect for busy moms who want homemade bread without sourdough.
Ingredients
- 3 1⁄4 cups flour
- 2 1⁄4 teaspoons active dry yeast
- 1 tablespoon honey
- 1 1⁄2 cups warm water (110 to 115 degrees)
- 1 1⁄2 teaspoons salt
Instructions
- Warm the water to 110 to 115 degrees. Add the warm water and honey to a bowl and stir to combine. Sprinkle the yeast over the top and let it sit for 5 to 10 minutes, until foamy.
- In a large bowl, mix the flour and salt.
- Pour the yeast mixture into the flour mixture. Stir until fully combined and a sticky dough forms.
- Cover the bowl and let the dough rise until doubled in size, about 1 to 1 1⁄2 hours.
- About 30 minutes before the dough finishes rising, place a Dutch oven with the lid on into the oven and preheat to 450 degrees.
- Once the dough has doubled, turn it out onto a lightly floured surface. Knead briefly, just until it comes together into a smooth ball.
- Place the dough onto a piece of parchment paper.
- Carefully transfer the dough and parchment paper into the hot Dutch oven. Cover with the lid.
- Bake for 20 minutes with the lid on. Remove the lid and bake for an additional 10 to 15 minutes, until the top is golden brown.
- Remove the bread from the oven and let it cool completely before slicing.
Notes
-If your kitchen is cool, rising may take a little longer, and that is okay.
-A sticky dough is normal. Avoid adding too much extra flour.
-Always preheat your Dutch oven for the best crust.
-Letting the bread cool fully makes a big difference in texture.
Common Questions About Yeast Artisan Bread
Can I use instant yeast instead of active dry yeast?
Yes. You can substitute instant yeast in the same amount. If using instant yeast, you can skip the blooming step and mix it directly into the flour with the salt, then add the warm water and honey.
Why didn’t my bread rise?
This is usually due to water that was too hot or too cool, expired yeast, or a cold kitchen. Yeast prefers warm water and a cozy environment to activate and rise properly.
Can I make this dough ahead of time?
Yes. Once mixed, you can let the dough rise in the refrigerator overnight. Bring it back to room temperature before shaping and baking.
How should I store homemade bread?
Store the loaf at room temperature in a cloth bread bag, bread box, or loosely wrapped towel. For longer storage, slice and freeze the bread.
Helpful Bread Baking Facts
- Yeast is a living organism that feeds on sugar and releases carbon dioxide, which causes dough to rise.
- Honey helps activate yeast and adds subtle flavor to the bread.
- Steam during baking allows the bread to rise fully before the crust sets.
- Cooling bread before slicing prevents a gummy texture inside.
- Quality flour improves structure, flavor, and overall baking results.
Final Thoughts
Homemade bread does not have to be complicated to be meaningful. This yeast artisan bread is proof that you can make nourishing, beautiful bread even in busy seasons.
If you are just starting out, or if sourdough feels like too much right now, this recipe is a perfect place to land. It is warm, simple, and made to fit real life.
If you try this recipe, I would love to hear how it turned out for you. Save it, come back to it, and make it part of your rhythm.